
Some Assessments contain Sub-Forms. Sub-Forms enable users to maintain records for multiple episodes within the assessment, as required. For example, within the Incident Form, Infection Form and Pain Assessment, a user can add a new Sub-Form for each individual incident, infection or pain area identified. Once an episode (e.g. infection or wound) has resolved or healed, the related Sub-Form can be resolved. It is crucial that staff only enter one episode per sub-form. For example, if a person has multiple wounds, a new sub-form is to be created for each wound.
a) An Assessment with a Sub-Form will display an Add New button.
b) By selecting Add New, you will be creating a new Sub-Form. This form will have the same questions/fields/selections available for each episode (e.g. wound or infection) identified, enabling the User to enter specific details relevant to each individual episode.
c) Each Sub-Form has a Record ID, displayed at the bottom of the Sub-Form. This is generated automatically the first time the Sub-Form is saved. This record ID does not change, regardless of how many times a sub form is edited and/or saved.

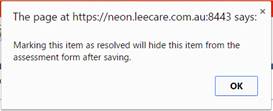
d) When the episode is resolved, a user with the relevant permissions can mark the Sub-Form as resolved by ticking the Mark as Resolved tick box. When the user selects Save on the assessment/form the following window will appear to ensure the user does want to resolve and hide the item.
e) The Sub-Form will be removed from the Assessment and can be viewed in the Assessment Report as a past version of the assessment. (Please refer to the View Past Assessments section of this user manual for further information). If the ‘Mark as Resolved’ box is ‘greyed out’ you have not been assigned the required permission to resolve Sub-Forms.
f) Before a Sub-Form is resolved, it is able to be ‘Saved in Error’ by staff who have the relevant permission, by selecting the cross X at the top of the Sub-Form. This Sub-Form will be removed from the assessment and can be viewed in the ‘Saved in Error’ Report, in the Reports module of the program, by users with the relevant permissions.
g) Enter in a reason for saving the record in error in the pop up box below and click OK.

Note: Once the sub-form is resolved, the record/sub-form cannot be edited or ‘saved in error’.
h) Once all required information has been entered, select Save to save the details in the Sub-Form. If no information has been entered and Save has been pressed, then a pop up will appear to ensure that User is aware that they have not made any changes to the assessment. Depending on which sub-form you are working on, a message will also appear to ensure you have added basic information into the sub-form before leaving the form.
i) Upon saving a pop up will display, allowing you to select the progress status of the assessment. Select the appropriate answer and click continue

j) Depending upon your organisation’s preference, changes made to assessments can be entered into Progress Notes.
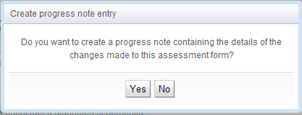
k) Select YES to the above question to generate a progress note automatically for the Assessment / Evaluation changes.
l) If you do not require a progress note entry, select NO.
m) If required, you can now select to adjust the Goals of Care for the related care area or other assessments relevant to the form you were working on. To do this, select Open or Open in another tab.
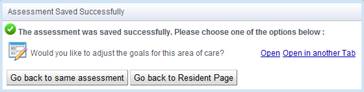
n) If you do not wish to update the Goals of Care or any other relevant assessment at this time, you can select to Go back to Same Assessment or Go to Resident Page.