Daily Forms enable charting and viewing of daily resident data. Use of these electronic forms enables Reports, quality data and ACFI documentation to be generated within the program, negating the need for manual data collation.
Enter Details into Daily Forms
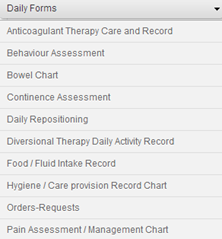
v To access a resident’s Daily Forms, select Daily Forms from their Resident Page. A list of Daily Forms will display. Select the required Daily Form from the list.
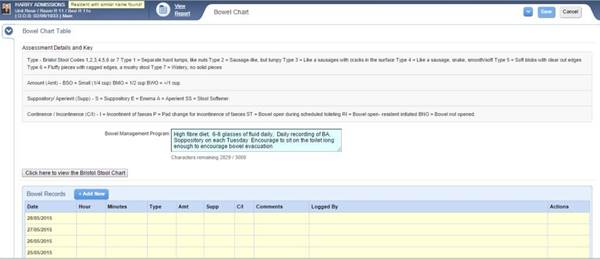
v Some Daily Forms include details linked from the relevant assessments above the chart. This provides a quick reference for staff, e.g. the resident’s bowel management plan.

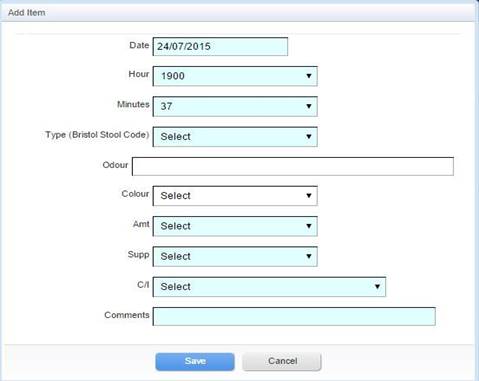
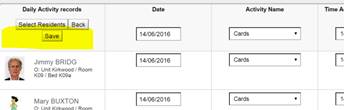
v You will be prompted to enter resident data for the daily form into the automatic pop-up window that appears. The date and time will auto-populate with the current date and time. You can change these if required. If you do not wish to enter data in at this time, press CANCEL and you will be taken straight to the chart.
![]()
v Once all relevant data has been entered, select Save
v The chart will display showing all entries made, listed with the most recent entry at the top.
v Should you wish to make another entry, select Add New. The same pop up window will display, allowing you to enter resident data. For adding in back dated/ timed data ensure you select the correct date and time of the entry.
v Click Save at the top right of the page and the chart will populate with the user’s details, including the time and date.
Notes:
· Only information for the last 30 days will display in the chart. To access earlier records, see the Assessment Reports section of the User Manual or the How To Card View and Print a History of Assessment Changes.
· Some Daily Forms will take longer to display/load than others. This will depend on the number of items in the form and the amount of linked data from other Assessments to the Daily Form.
· The C/I field in the Bowel Chart (circled above) must be completed otherwise the Bowel Chart List report will not populate with the data entered.
Using the Daily Forms Grid
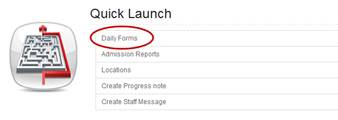
v Select Daily Forms from the Quick Launch menu on your Home Page.
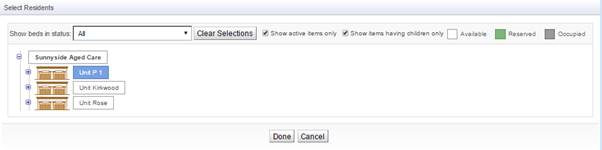
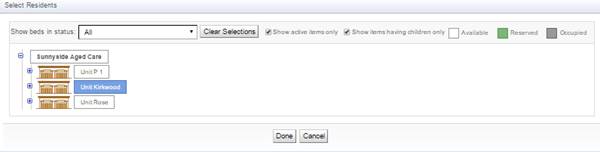
v This feature enables users to select the facility, unit, sub unit, rooms or beds they wish to complete details for, to select a Daily form and then fill out all the daily form content for all admitted residents currently in the facility at the same time.
v NOTE: To update daily forms of a resident on leave, access is via the resident home page.
v Select the Daily Forms hyperlink from the Quick Launch page
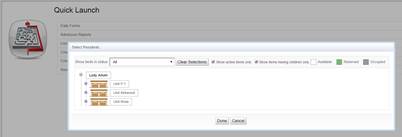
v The Daily Forms Page opens
v When a resident is occupying one bed but reserving another one, the resident will be displayed only in one row of the Daily Forms page.
v All Daily forms the user has permission to are listed at the top of the grid as a Hyperlink
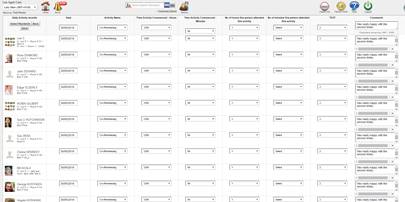
v A grid will display showing all admitted residents in the facility based on your resident permissions, listed alphabetically. The Daily Form names display across the top of the grid in hyperlink format to allow the user to fill out all the daily form content for multiple residents at the same time.
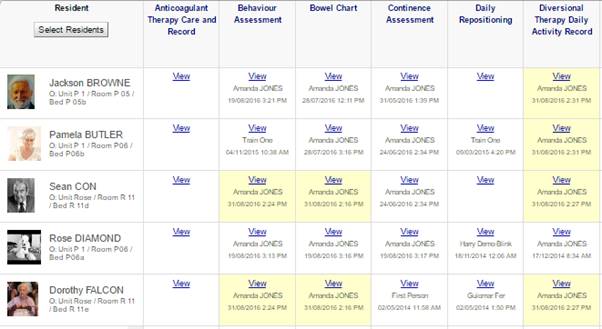
v The Daily Forms Grid will display the date and time the last entry was saved into each resident’s Daily Forms, together with the name of the User who saved this entry.
v Daily Forms in which an entry has been charted in that day will be highlighted in yellow in the grid.
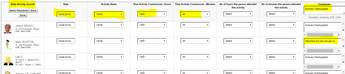
v Open the multi resident entries feature, by clicking on the name of the relevant Daily form
![]()
v All the fields from the selected daily form open up with the Residents On the R) Hand side of the Grid.
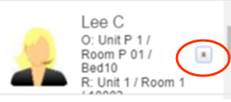
v To omit a resident from the list view, click on the ![]() beside their name
beside their name

v The date and time fields will auto populate as default
v Select or edit an answer for each question for each column in the top row of the Grid
v The answers will prepopulate the corresponding fields for all residents,
v Edit individual answers by selecting the relevant field within the grid for the relevant resident to reflect the individual resident’s response.
v Once all fields are populated and edited as required, select the Save button at the top of the grid.
v When the Save button is selected each individual resident’s answers will save for that resident, in the resident’s individual GRID table.
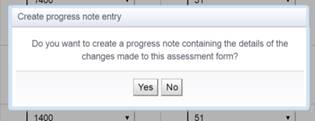
v Information may also be saved to Progress notes depending on settings (Always, Never, Prompt)
v Individual forms can be opened as previously i.e. by selecting the View Hyperlink for an individual resident and form
v The Feature will reflect the current content of all forms as built or altered by the organisation.
v A user can go back to the ‘individual’ resident view and see the daily form answers in their ‘daily form answers grid’.
Note:
A resident’s details will not save in the ‘bulk save’ if only the date is set for the resident’s entry. However, if the form being saved includes hours/minutes and a user does not wish a resident’s details to ‘save’ in the bulk save, they must ‘unselect’ the hr/min entry for that resident OR as no data has been selected for the resident, the user can ‘remove’ the resident from the view by selecting the ‘remove’ feature in the top right hand corner of the resident name/photo box. This will ensure they are not included in the ‘bulk save’
v To commence a new search, press ![]() from the Daily Forms Grid.
from the Daily Forms Grid.